Posts tagged ‘black’
Cheap Designer Accent
$10 retro starburst mirror at Family Dollar! Thought this would be cool in a grouping on a designer color wall.

Sean Wells via iPhone
Painting the Dragon on the Vanity
Here is the first how-to on the vanity.
1. I have painted the vanity with a Krylon acrylic paint in Banner Red. The surface is clean.
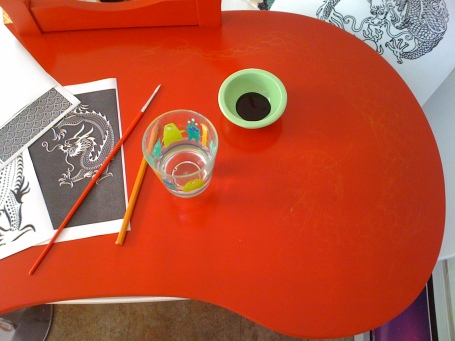 2. I gathered inspiring images from Google. Search for keywords that interest you and print out your favorites. Print out for reference. If you’re not comfortable free-handing, you can print out images full scale so that they print on several pieces of paper and seam them together with tape. Rub chalk on the back and trace from the front onto your surface to transpose chalk guidelines to your tabletop. I took my favorite elements from several images to get a Dragon and Phoenix I liked. Have your image respond to the edges of the table top. My beasts curl around the curves of the desk.
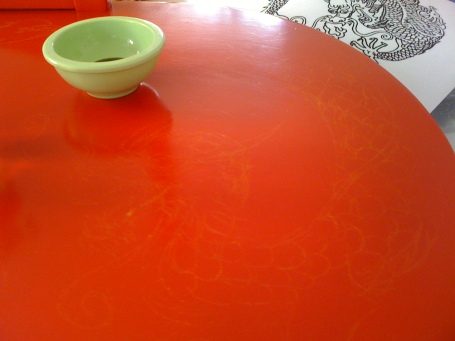
3. I’m using a basic black acrylic paint found at any craft/art supply store. You can use the 99¢ bottles of crafting acrylic or the thicker tubes. The crafting acrylic should get a less-dimensional image. The tube paint will leave raised ridges and brush strokes. I liked this effect since it really told you the desk was hand-painted. Pour a little paint into a small bowl. Keep adding water and mix paint into water until you get an inky look. Leave some paint unmixed in the bowl so you can vary the viscosity of your paint.
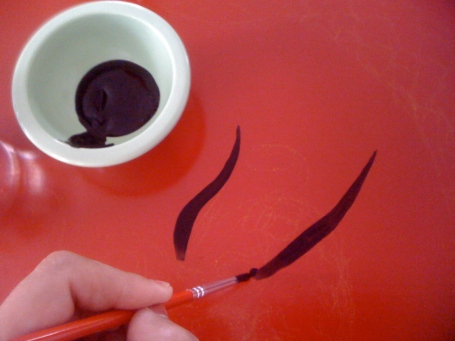 4. Use a long narrow brush. I like the stiffer bristles of an acrylic brush so that I can vary the width of the stroke by adjusting the pressure on the brush. I wanted to imitate the brush-stroke kanji of the collage paper.
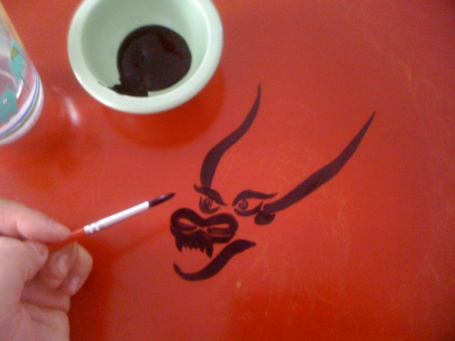 5. Continue filling out the details. Begin to layer in the thicker paint on the meatier areas if you want to give the paint some dimension. Be aware that you will be working over a large area, so you may want to start on the area furthest from your hand (I obviously didn’t do this). I don’t rest my hand on the surface, so it’s not as big an issue for me. But, you don’t want to accidently run your hand through the wet paint.
 6. Wait until you’ve developed your comfort with the brush strokes before you tackle the longer major outlines. I definitely developed a technique and style as I went along. Don’t be too afraid to make mistakes. Leave a moist rag around to quickly wipe up any strokes you don’t like. Dry the area thoroughly before repainting to avoid bleeding or feathering. The acrylic tends to sit on the surface until it’s sealed, so you can even wash off dried paint for the most part.
 7. Invest in textures and details. I really liked the feathered texture on the scales. It took a while, but really took it from a craft project to a work of art. That being said, I also left some areas very loose and interpretive.
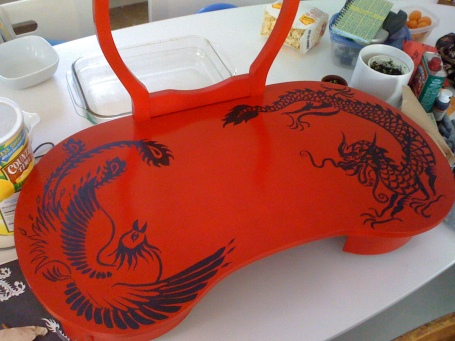
8. Shot of the completed top. The acrylic dries extremely fast. Once the thickest parts have dried, take it outside and put several clear coats of acrylic spray paint. Do not use lacquer as it can cause wrinkling. If you plan to collage, you’ll apply more coats of sealer on top of the collage work and will probably have to recoat the top as well to prevent the dusty look of overspray.
This process can be applied to any theme you choose!
i see a white light…
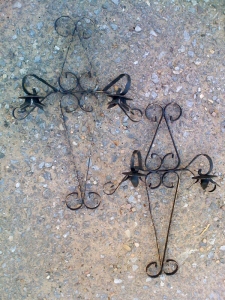
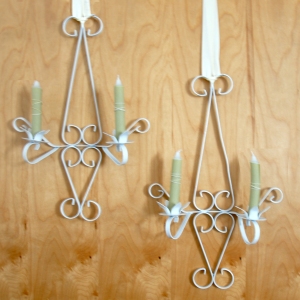
I love these quick little projects to get my craft fix while boys are jumping on the trampoline. They are finally at an age where they are enjoying seeing transformations of projects, too! So, I picked up these wrought iron candle sconces at a yard sale for the bargain price of $1 for the pair! At the same yard sale, I walked away with a box of 25¢ spray paint cans. I could hardly wait to get home and paint those candle holders. I toyed with several colors, but eventually decided their feminine shape insisted on being white. It took a full can of both primer and paint to cover them because they had so much surface area. I put a good coat of acrylic sealer to top them off. I found a six pack of ’emergency candles’ at the Dollar Store. I wrapped them in colored paper to give them some contrast for the photo. I hung them using ribbon on my son’s headboard for contrast and he was VERY disappointed they weren’t staying there.
So excited to report I just successfully dropped off several pieces at the furniture consignment store! They priced the cream-orange-chrome chair at $100 and the Broadway bench at a whopping $150! The candle holders were impressively marked at $30. My cut will be 50% of final sale price. Finger’s crossed! ~Sean
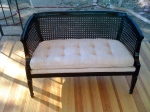
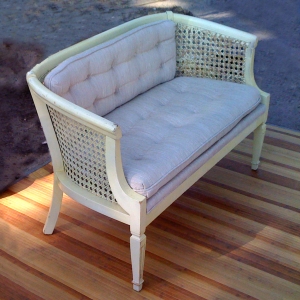
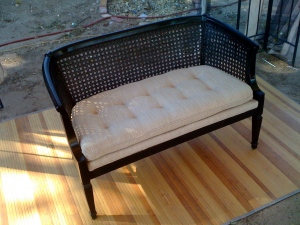
$10 wicker bench ready for Broadway!
It was supposed to be a quick repaint job. But thanks to my impatience, it took me weeks to get it right. Concept: remove cushions, scuff-sand, paint a contrasting color, paint clear coat, replace cushions.
SPRAY PAINT SAGA: ACRYLIC VS ENAMEL
I’m thrifty, so I was using collected spray paint from my shed. I wasn’t too concerned with whether it was flat, satin or gloss since I’d be finishing with a good clear coat of gloss. I put two coats of black acrylic spray on successfully. But, the third can happened to be ENAMEL. I had never stopped to consider the difference between enamel and acrylic sprays. Well, it turns out, they are vastly different. As I sprayed what was supposed to be the touch up coat over the thus far pristine surfaces of my black bench, it began to bubble and foam like a witches brew and wrinkle like a witches face. Son of a witch. So, I waited another hour and went back to sand the malformed areas. I began to sand and as the heat from the friction of the sanding increased, the wrinkled, bubbled areas became gobby, lumpy messes.
At this point, I was desperate enough to do something I hardly ever do–I read the directions on the can of paint. It turns out, with Enamel spray paint, it is best to put a second coat on either within the first hour OR wait 48 hours for the paint to fully cure. Enamels are oil based and have MUCH longer drying and curing times than acrylics. But, the benefit is that the finish is shinier and more durable, a trade-off my patience is rarely willing to make. Because of the vastly different drying rates, it is unadvisable to layer either paint on the other without allowing for complete cure time of the base layer. But, I also suspect that because of the oil based nature of enamel, it may act as a solvent to even fully dried acrylic base coats as I finally did let all undercoats cure completely and still had problems with wrinkling and bubbling. Well, after several more rounds of sanding and painting (acrylics only), it’s satisfactory.
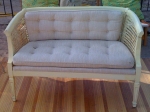
I was most happy with the sophisticated color palette. I opted to leave the back cushion off. It emphasizes the horizontality of the bench and invites the new owner to play with some throw pillows (and I know you love to play with throw pillows, Beth). I plan to bring the bench to the furniture consignment later this week. My dh does not approve of wicker anything, so we will not be adopting this particular piece.


You must be logged in to post a comment.