Posts tagged ‘modern’
Papers!
 I finally got around to visiting the paper store you recommended. It was heavenly. Delicate hand screened printed sheets hung neatly from the wall. Prices ranged from a couple of dollars to $25+. Lots of inspiring crafted paper products and accessories drew me through the store. I lingered on the sealing waxes and seals plated in gold and silver glistening like pirate’s treasure. I basked in the soft pastels of the ceiling covered in various delicate tissue paper items. I was mesmerized by the giant cascading origami chandelier. But I was on a mission.
 I was looking for some red and black paper to finish a hush hush project. I was hoping to be overwhelmed by options, but there were really only two. I walked away with a beautiful red textured tissue paper with black Kanji scrawled across it creating a wonderful graphic pattern. I’ll be using it as a decoupage accent on a furniture piece. I’ll take step by step photos, so I hope I don’t mess this one up! More photos of paper store to follow when I’m not on the road!
Sean Wells via iPhone
cheap fabrics with modern prints
Spotted at Walmart today @ $1.50/yd, cotton and poly fabrics in cute modern prints. Great for pillows or curtains. Generally too light for upholstery. Also selling $5/5yd bolts in some interesting fabrics.
~ Sean via iPhone
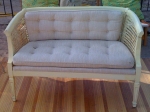
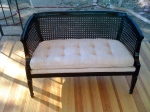
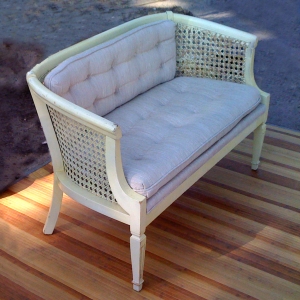
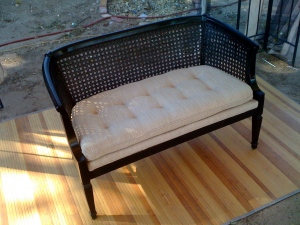
$10 wicker bench ready for Broadway!
It was supposed to be a quick repaint job. But thanks to my impatience, it took me weeks to get it right. Concept: remove cushions, scuff-sand, paint a contrasting color, paint clear coat, replace cushions.
SPRAY PAINT SAGA: ACRYLIC VS ENAMEL
I’m thrifty, so I was using collected spray paint from my shed. I wasn’t too concerned with whether it was flat, satin or gloss since I’d be finishing with a good clear coat of gloss. I put two coats of black acrylic spray on successfully. But, the third can happened to be ENAMEL. I had never stopped to consider the difference between enamel and acrylic sprays. Well, it turns out, they are vastly different. As I sprayed what was supposed to be the touch up coat over the thus far pristine surfaces of my black bench, it began to bubble and foam like a witches brew and wrinkle like a witches face. Son of a witch. So, I waited another hour and went back to sand the malformed areas. I began to sand and as the heat from the friction of the sanding increased, the wrinkled, bubbled areas became gobby, lumpy messes.
At this point, I was desperate enough to do something I hardly ever do–I read the directions on the can of paint. It turns out, with Enamel spray paint, it is best to put a second coat on either within the first hour OR wait 48 hours for the paint to fully cure. Enamels are oil based and have MUCH longer drying and curing times than acrylics. But, the benefit is that the finish is shinier and more durable, a trade-off my patience is rarely willing to make. Because of the vastly different drying rates, it is unadvisable to layer either paint on the other without allowing for complete cure time of the base layer. But, I also suspect that because of the oil based nature of enamel, it may act as a solvent to even fully dried acrylic base coats as I finally did let all undercoats cure completely and still had problems with wrinkling and bubbling. Well, after several more rounds of sanding and painting (acrylics only), it’s satisfactory.
I was most happy with the sophisticated color palette. I opted to leave the back cushion off. It emphasizes the horizontality of the bench and invites the new owner to play with some throw pillows (and I know you love to play with throw pillows, Beth). I plan to bring the bench to the furniture consignment later this week. My dh does not approve of wicker anything, so we will not be adopting this particular piece.
Q Project: mid-century modern recliner
Last summer my sister was kind enough to give me one of her unused mid-century modern recliner chairs. I loved the simple lines of the chair but couldn’t move past the black painted frame. One afternoon while my dh took the kids out for a treat at The Frontier Mart in Corrales, I decided to grab my nifty palm sander and gave this classic chair a much-needed face-lift. My intuition told me that once the paint was removed I would expose a beautiful wood. Come to find out, I was right!
Initially, I was thinking of reupholstering the chair with a funky fabric pattern similar to the re-upholstered Milo Baughman chair posted in Apartment Therapy. What do you think?
~Beth


You must be logged in to post a comment.